How to Issue a Refund in QuickBooks?

Written byadmin
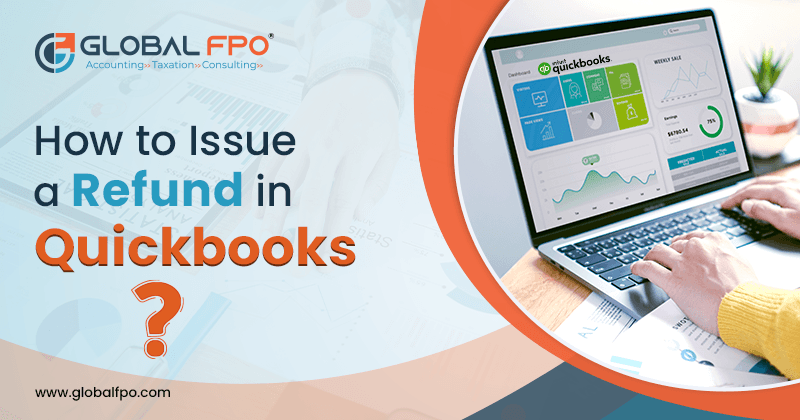
Table Of Content
Frequently Asked Questions
Everything you need to know about this article

Still have questions?
Talk to our experts and get answers tailored to your business.
Book a Free ConsultationYes, you can issue a refund without a receipt in QuickBooks by using the "Create Refund Receipts" option.
Still have questions?
Talk to our experts and get answers tailored to your business.
Book a Free ConsultationOur Recent Blogs

Revenue growth often receives the most attention in business. Sales targets, customer acquisition, and expansion plans usually dominate leadership discussions. Yet financial stress can persist even when revenue is rising. A lack of financial visibility is usually the reason. Unexpected tax bills, cash shortages, and shrinking margins frequently catch business owners off guard. On paper, […]
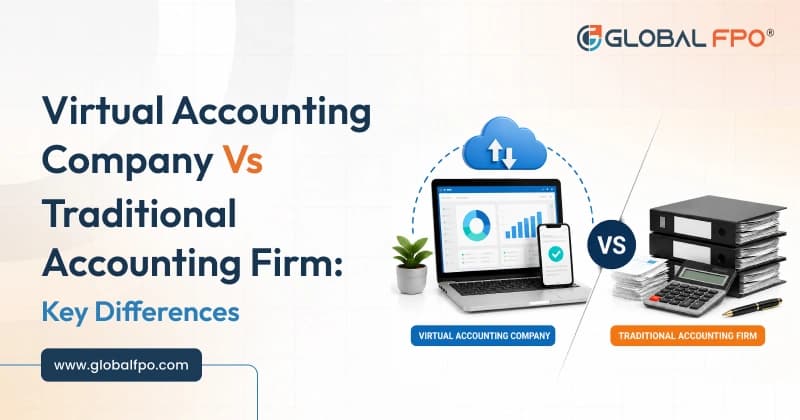
Article Summary: Learn what virtual accounting companies are and how they provide bookkeeping, payroll, tax preparation, financial reporting, and advisory services through cloud-based technology. Understand the key differences between a virtual accounting company and a traditional accounting firm, including service delivery, communication, scalability, and accessibility. Discover why businesses are increasingly choosing online accountants for real-time […]

Businesses often use a combination of debt and equity to fund operations, purchase assets, and support expansion. While borrowing can accelerate growth, it also increases financial obligations and risk. Understanding how much debt a company relies on is essential for evaluating its long-term financial health. This is where the financial leverage ratio becomes valuable. Whether […]
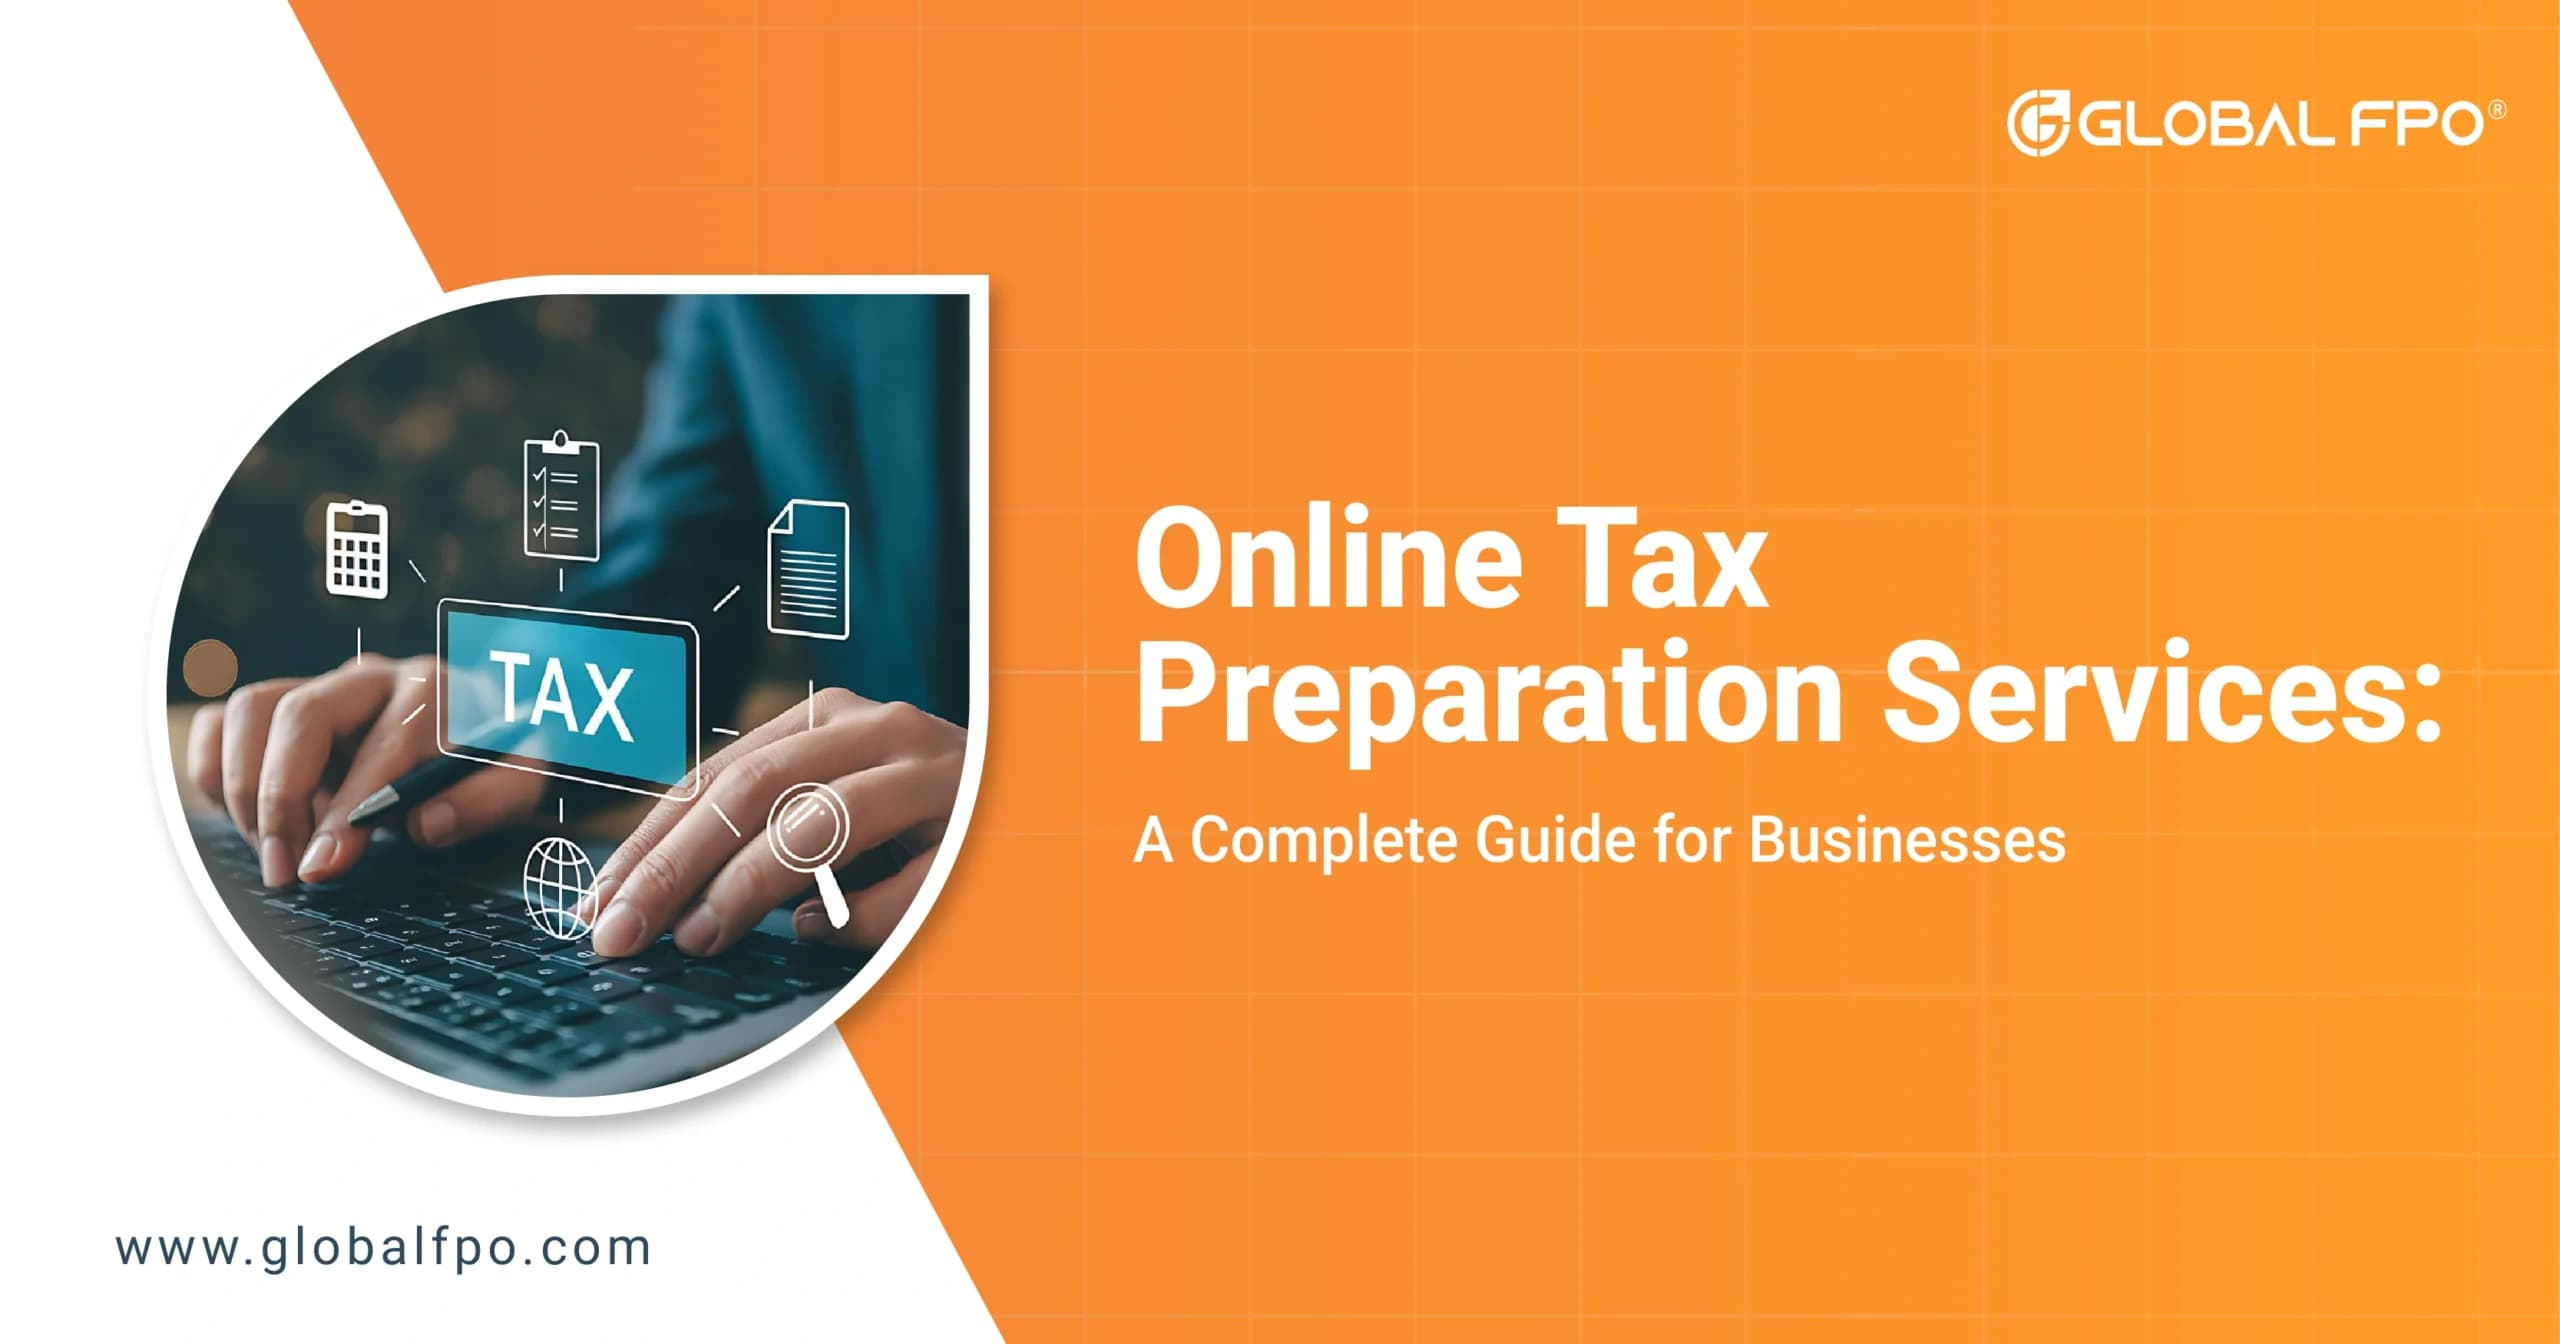
Article Summary: Learn what online tax preparation services are and how they simplify business tax filing through secure digital platforms. Understand why businesses are switching to online tax preparation services to improve efficiency, accuracy, and tax compliance. Explore the step-by-step tax preparation process, from uploading financial documents to electronically filing tax returns. Discover the key […]
Revenue growth often receives the most attention in business. Sales targets, customer acquisition, and expansion plans usually dominate leadership discussions. Yet financial stress can persist even when revenue is rising. A lack of financial visibility is usually the reason. Unexpected tax bills, cash shortages, and shrinking margins frequently catch business owners off guard. On paper, […]
Article Summary: Learn what virtual accounting companies are and how they provide bookkeeping, payroll, tax preparation, financial reporting, and advisory services through cloud-based technology. Understand the key differences between a virtual accounting company and a traditional accounting firm, including service delivery, communication, scalability, and accessibility. Discover why businesses are increasingly choosing online accountants for real-time […]
Businesses often use a combination of debt and equity to fund operations, purchase assets, and support expansion. While borrowing can accelerate growth, it also increases financial obligations and risk. Understanding how much debt a company relies on is essential for evaluating its long-term financial health. This is where the financial leverage ratio becomes valuable. Whether […]
Join Thousands Of Businesses Worldwide Who Rely On Our Expertise For Accounting, Payroll, And Tax Solutions